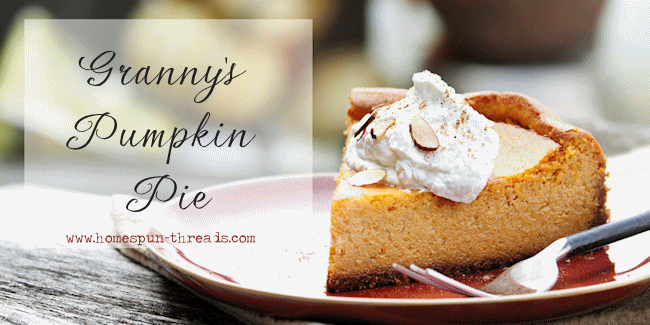
 Oh how I miss my Granny this time of year. I grew up a skip hop away from her back door and planted my own family a door over from her. One thing I miss most are her phone calls to tell me she had food cooked that someone needed to come eat. We would head straight over and sit around her table while she watched us eat. It was always delicious.
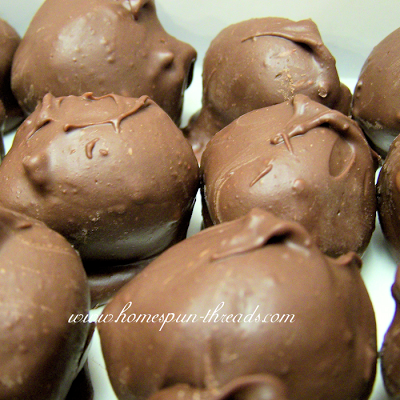
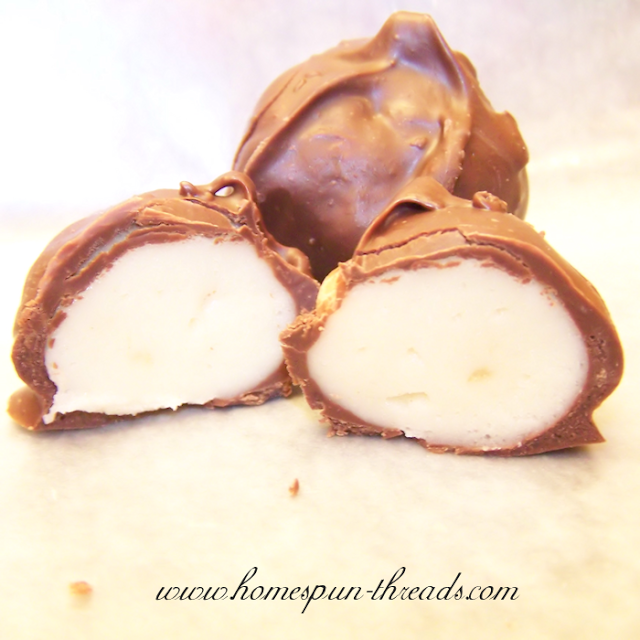
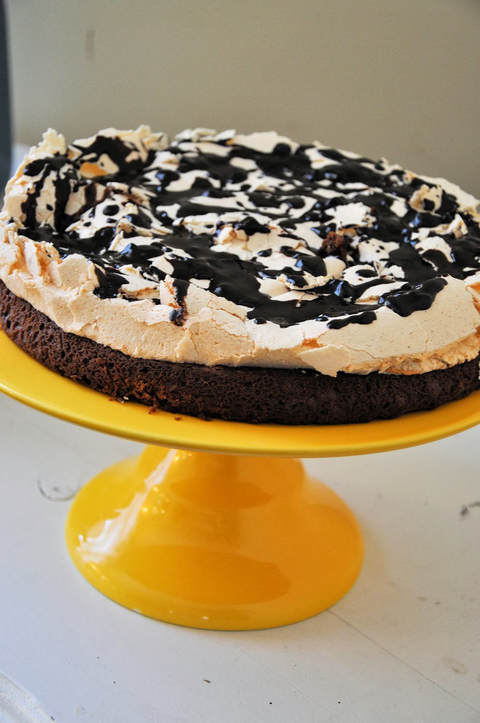 Marina is visiting us from her home country, the Ukraine. While she was here for Christmas she asked if she could make a chocolate cake that she makes for her children in her Center back home. She whipped up the most delicious chocolate cake I think I have ever eaten. I asked her for the recipe and she said. "I make and show you, you write." Here is the recipe as best as I could do considering. Now that I've made this cake with her, I want to learn how to make many others from scratch. 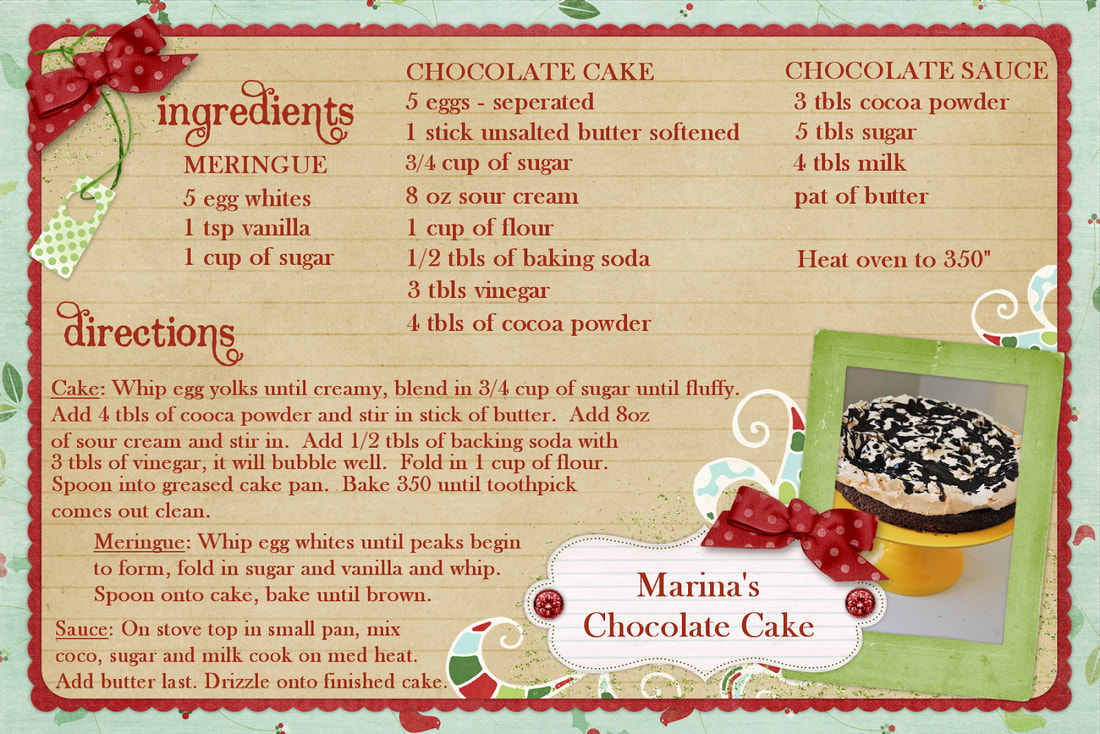  Caramel on a Vanilla Fudge Cloud Center 4 T. butter 2 c. mini marshmallows 1/2 tsp. vanilla 4 c. powdered sugar 1-3 tsp. milk In a medium saucepan, bring butter to a boil over extremely high heat. Do not stir. Allow butter to boil just until it takes on a medium brown hue (you want to brown it, not scorch it!). Once browned, immediately add marshmallows to the pan and stir, stir, stir while they swell and become sticky. Remove from heat. Add vanilla, powdered sugar and 1 tsp. of the milk. Now start to beat it with your electric mixer. Add milk as needed. The consistency should be thick and sticky. Pour and scrap into a square class dish 9 x9 is what I use. Refrigerate until hard. Remove from refrigerator and work fast while hard. cut 1" squares from your pan of hard creamy filling. Remove squares one by one, roll into a ball and place on a sheet or wax paper. While you are rolling balls, melt your chocolate. 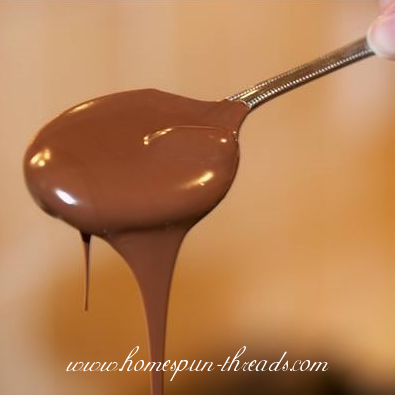 Melt your chocolate until it is a runny consistency, not too thick. I use the chocolate chips that come in the microwaveable paper bowls from the fresh fruit section of the grocery store. It's easy and quick. Dip your balls of stiff goo into the chocolate and remove. Place on a the sheet of wax paper. As your chocolate hardens you can sprinkle with pulverized pecans or drizzle with white chocolate or leave plain. 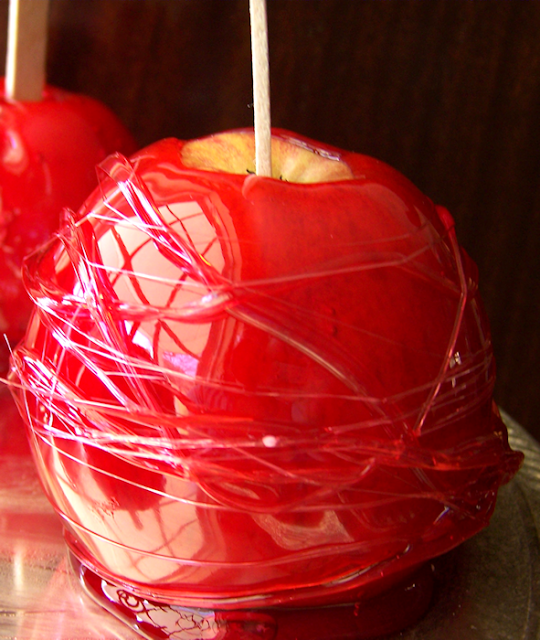 Check out these sweet, rich, royal, ruby beauties. This is the first time I've ever done Candy Apples successfully because I did them by the instructions on the package. Yes, I bought a pre-packaged candy apple kit, apples and added sugar. It was like magic. I didn't even need a candy thermometer. I played around with the candy liquid as it was cooling and my candy apples were resting and cooling. I started making these beautiful strings. 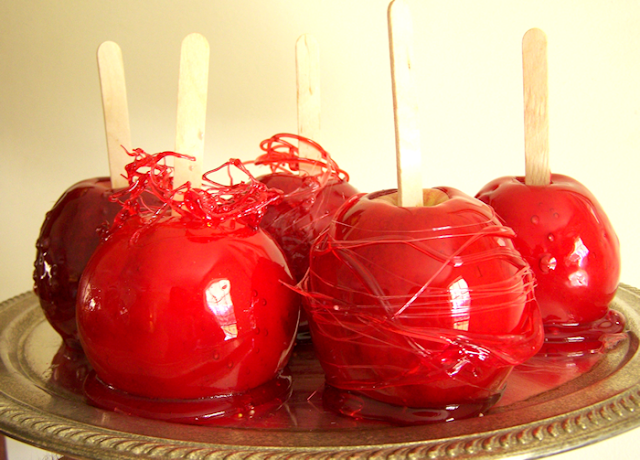 Some of the strings were made from drizzling the hot liquid into cold water in a small cup. I dumped the water and candy out of the cup and sat them to dry before placing them on the tops of the candy apple. The wrapped strings around the apple were made by touch a semi- cool bit of candy on a spoon to the already candied apple and turn the apple and going around and around with the spoon. This was easy and beautiful and I'm having trouble keeping "Hands Off". These kiddos aren't going to wait long for these. I just wanted to admire them for a little while. 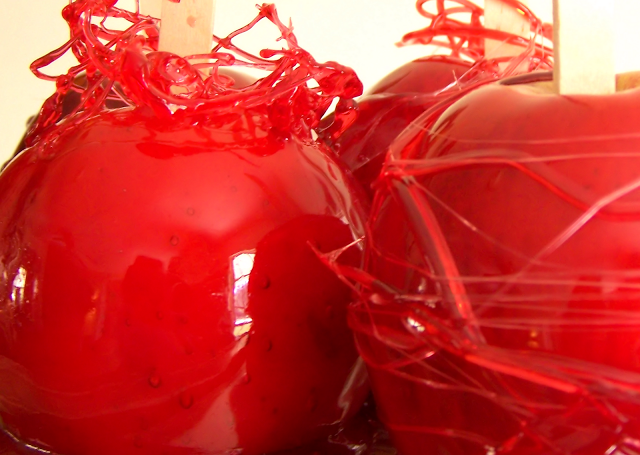 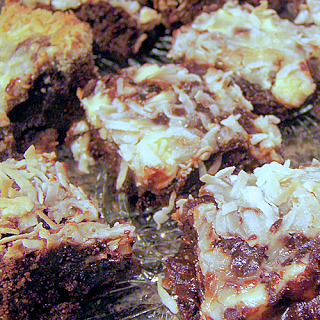 Brownies:
1/2 cup (1 stick) butter 6 oz. unsweetened chocolate 2 cups of sugar 4 large eggs 1/8 teaspoon salt 1 Cup Flour 1 teaspoon vanilla 1 cup of chocolate chips Brownies: Heat oven to 325. Grease sides of a 9 x 13 inch pan and line it with buttered parchment cut to fit the bottom of the pan. Melt the stick of butter and chocolate in a double boiler. Remove from heat. While the mixture cools, beat together the sugar, eggs, and salt until smooth. Fold in the chocolate mixture, then flour, then vanilla. Pour batter into the prepared pan, top with any toppings you want baked in and bake until the mixture pulls away from the sides of the pan, about 30 minutes. Cool thoroughly, about an hour and a half. If you need to add a glaze topping or chocolate do so now. Chill and serve with cold milk. YMMM! Sugar Glaze: 1 cup Powdered Sugar, teaspoon vanilla, add 1 tablespoon of water until the glaze is the thickness you desire and add after cooling but still slightly warm. I like my glaze runny! |
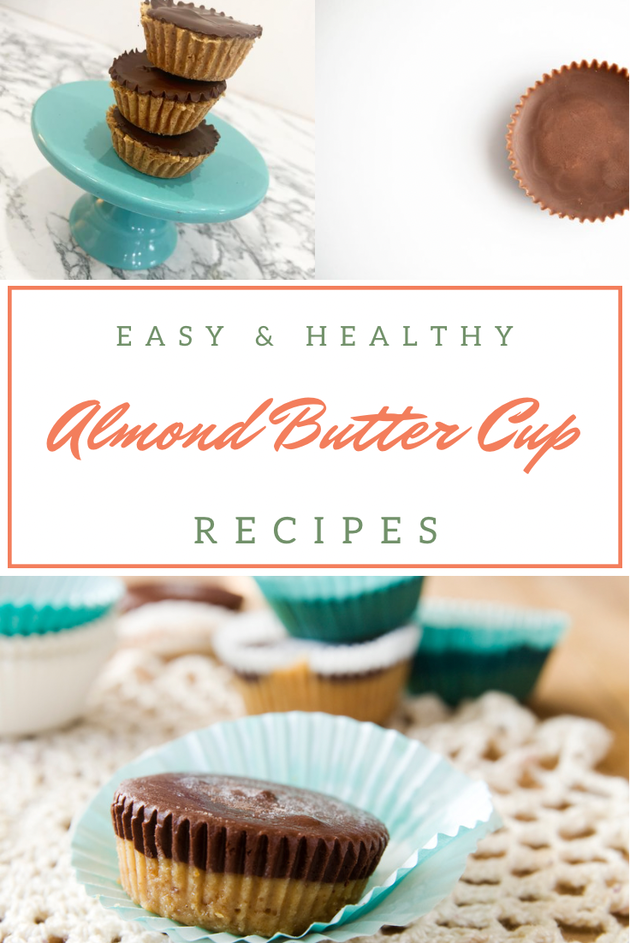
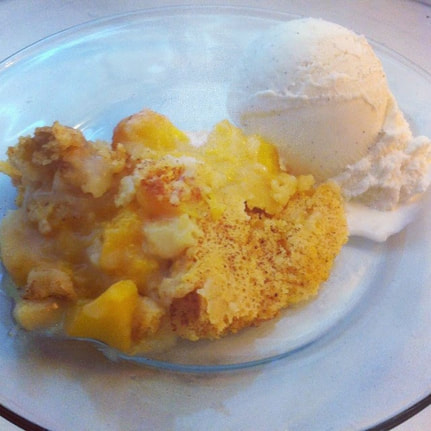
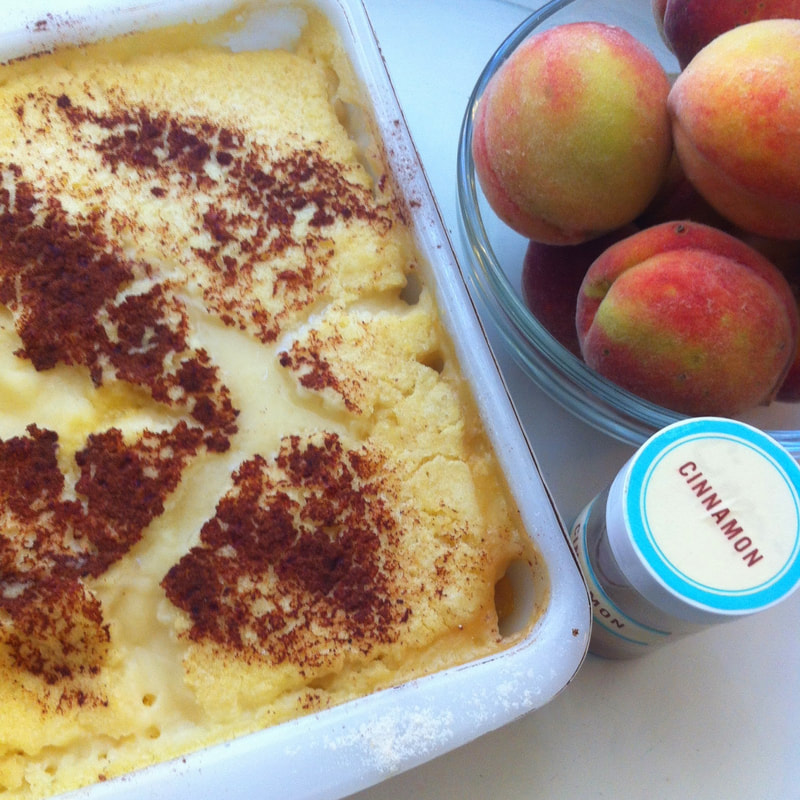
Join Me...I love to cook but only if the meals are healthy, easy, and yummy. . 
I'm Aimee, former Early Childhood Educator and Reading Specialist turned author, speaker, blogger, and mom of 5. This website is meant to inspire & equip parents of little ones to promote early literacy & language development at home. You will also find fun crafts, devotionals, and recipes to explore..
Learn more about me here. Categories
All
|

 RSS Feed