Oh how I love me some wall lettering. I remember when I first discovered a beautiful company a couple of years ago. I scheduled a party and my consultant canceled and never rescheduled. BOOO! So, I took matters into my own hands...
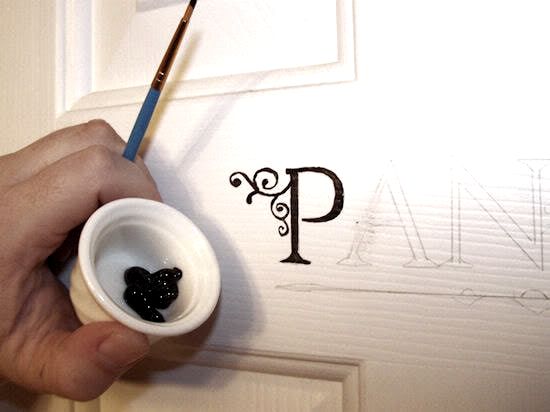
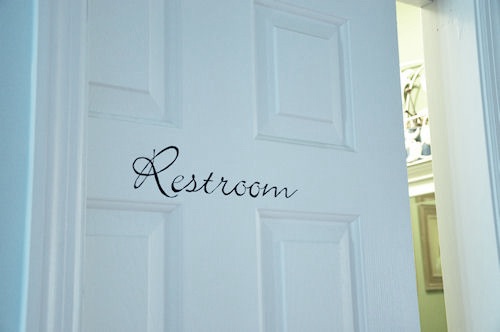
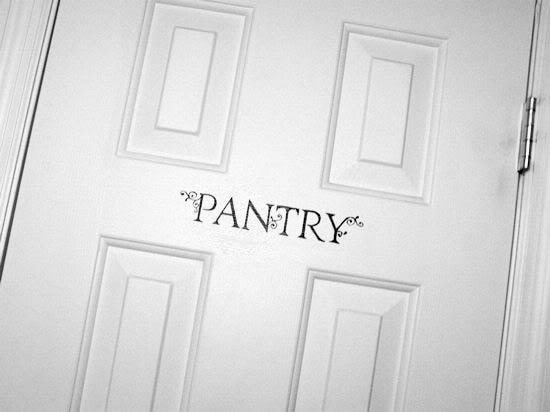
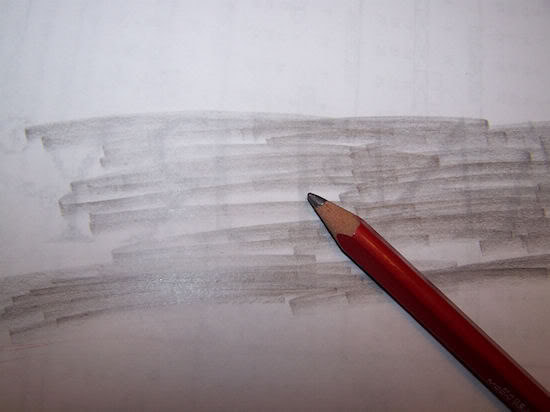
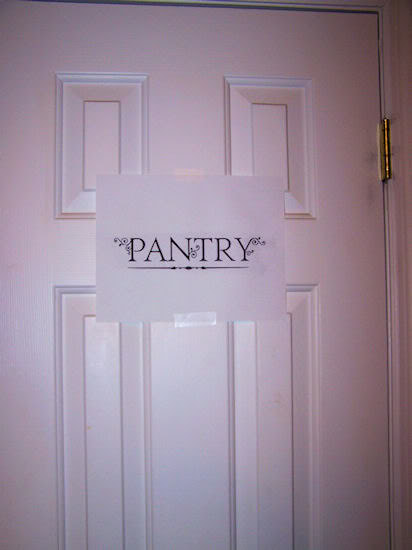
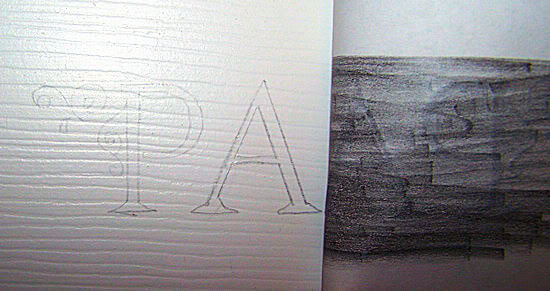
I love this one! Oh well, a girl can dream. Maybe one day... but until then I will take consideration of the words on the wall. I'm inspired by what I love and my inspiration has guided me to this... I'm going to... Wing it! My husband is leery of putting writing on walls, I think it's just because he doesn't want to read it or be reminded to wash his hands or something. I don't know! It might be because I tried buying these vinyl letters from Lowes and they were too tall for the space I wanted to use them (above my arch way). Oh well! So, tonight when I said, I want to paint "Pantry" on our pantry door, he actually said, "that sounds like a good idea!" What??? Really???? I can paint something on a door in our house? Really??? So, I did this! Awe! I'm so happy! It's 2:00 in the morning and I'm blogging about something that took about 30 minutes to do! I'm SO happy! Here's what you do! Print off the lettering that you want from your computer... Isn't it pretty! Then, I turned it over and did this... I rubbed my pencil all over the back of my letters until they were all covered. I taped it in place on the door and using a ball point pin, pressed slightly hard and traced around each and every line and curve. It was easy I promise! What you'll end up with is this transfer. My art teacher taught me this trick in high school, her father was a painter, and painted signs for a living. I guess this is a technique passed down. It works and it's easy! This is the rest, I simply painted with a thin brush. I used a black acrylic paint, one of my favorite paints to work with. I'd decided not to do the line underneath for fear I wouldn't make it straight but I like it better with out it. This takes little patience and a slight steady hand but anyone can do it. It all only took about 30 minutes so I KNOW you can do this! If you try this, please send me a picture. I'm looking for clever ideas around our house. I think something in our laundry room will be next. Since my pantry will always be my pantry and because of the wood grain texture, this technique is ideal. Oh and here's what I did on the restroom door too. It is a pocket door so it's nice for guests to know what's on the other side without leaving it open all of the time. Same technique and I don't have to worry about peeling off like my some vinyl someone sent to me is doing now. Also, painting over these is not a problem either...just in case you have worried about that. You can use a bit of paint thinner and remove it and then repaint as usual.
0 Comments
Leave a Reply. |
�
Come on in...
I'm Aimee, former Early Childhood Educator and Reading Specialist turned author, speaker, blogger, and mom of 5. This website is meant to inspire & equip parents of little ones to promote early literacy & language development at home. You will also find fun crafts, devotionals, and recipes to explore..
Learn more about me here. Categories
All
|

 RSS Feed