|
Hi! I'm Rachel from the blog At The Butterfly Ball. I am so excited to join Aimee in her Summer Soiree! What a fun idea, a full month of easy to do ideas for entertaining kids over the summer! Thanks for having me!
Today I am going to show you how to make a simple loom out of cardboard and introduce your children to weaving.
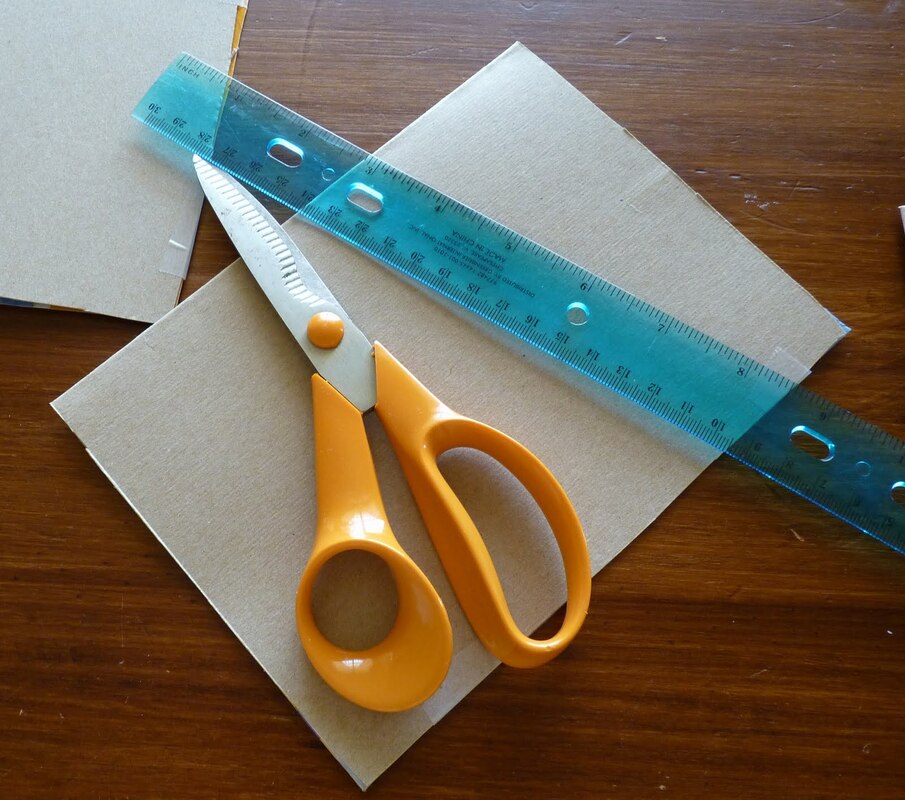
For this project you'll need the following: Cardboard for the loom, scissors, tape, yarn and a large tapestry needle. We used an empty cereal box for our loom. I just helped the boys cut out the back of the box and then we folded it in half and secured with tape to make a sturdier loom. The nice thing about this type of weaving is you can make your loom (And finished project) any size you want. Remember if you are working with little ones that the bigger the loom is, the longer the weaving takes to complete! Our looms where about 5 by 7 inches.
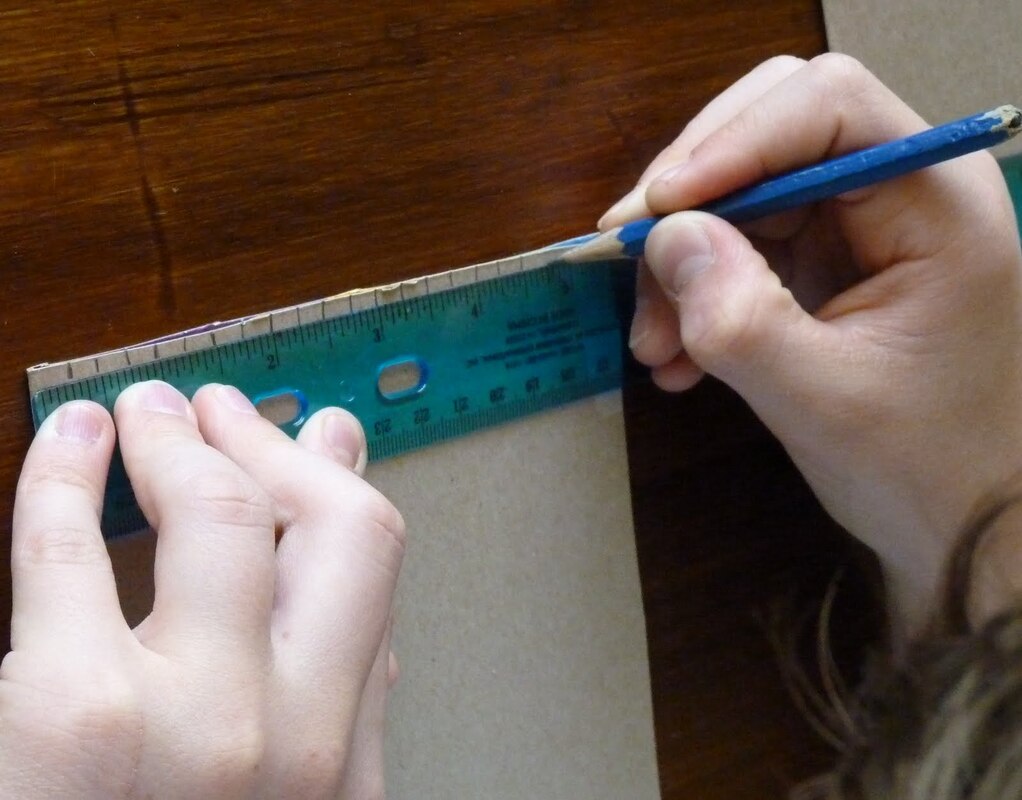
Mark the top and bottom edges of your loom every 1/4 inch. I found it works best if you begin and end your marks about 1 inch from the edge of the cardboard.
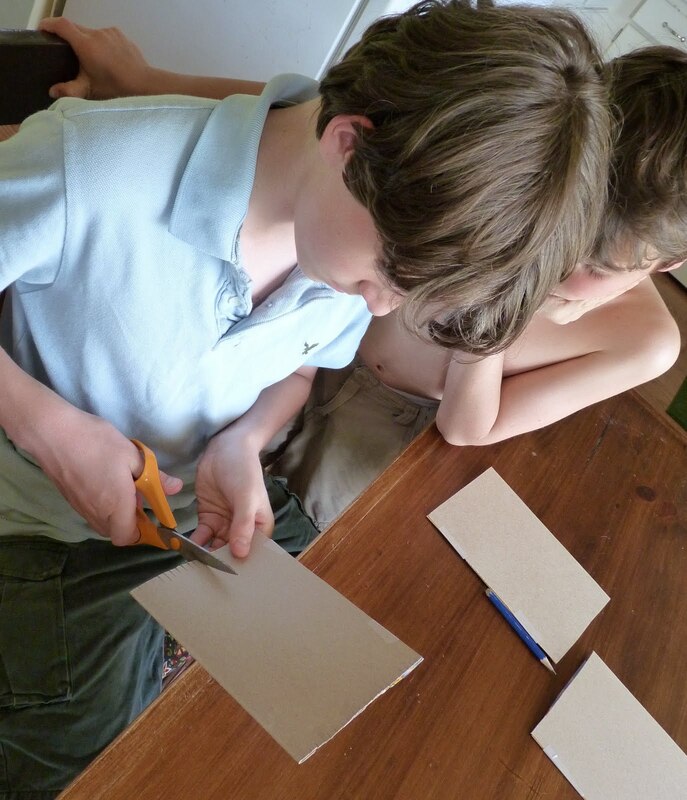
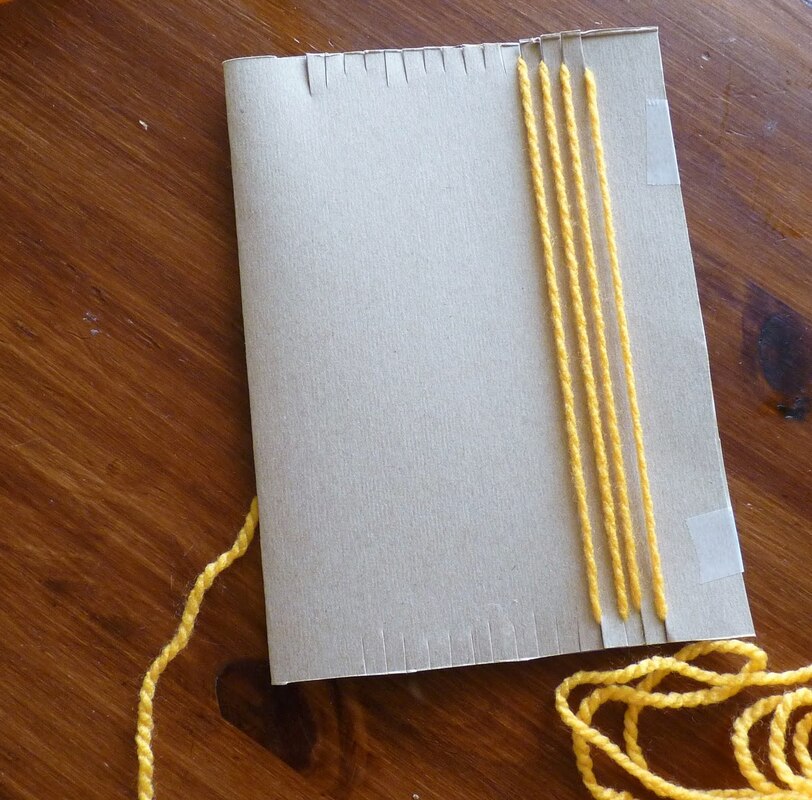
Make small cuts about 1/4 inch long on each mark for you to wind your vertical threads (called the Warp Threads)
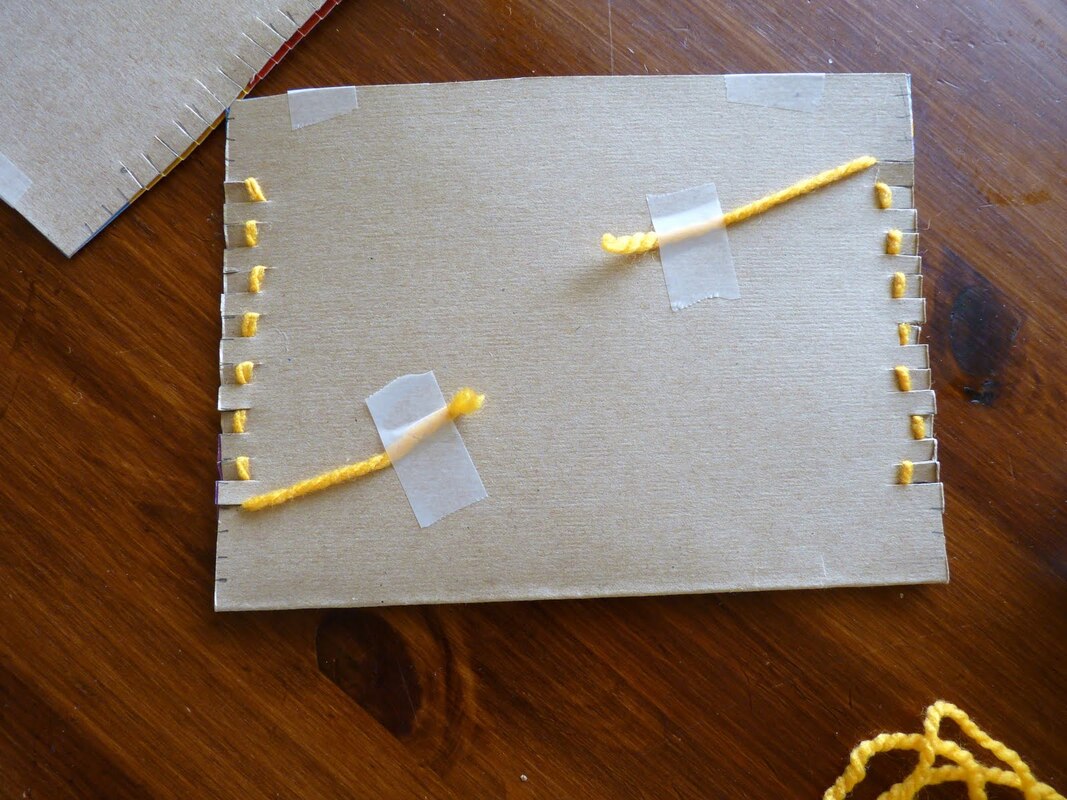
Begin winding your yarn for the Warp. Do not just wind all the way around the loom. You only want the warp threads looping over the tabs cut in the top and bottom of the loom and you do not want them winding from top to bottom on both front and back of your loom. (This is a bit difficult to explain, but in the next picture showing the back of the loom with the warp threads wound you can see what I mean.)
See what I mean? The warp threads only loop over the tabs cut in the loom and do not cover the back of the loom like they do in the front. The ends of the yarn are taped onto the back of the loom to keep them out of the way while your child weaves.
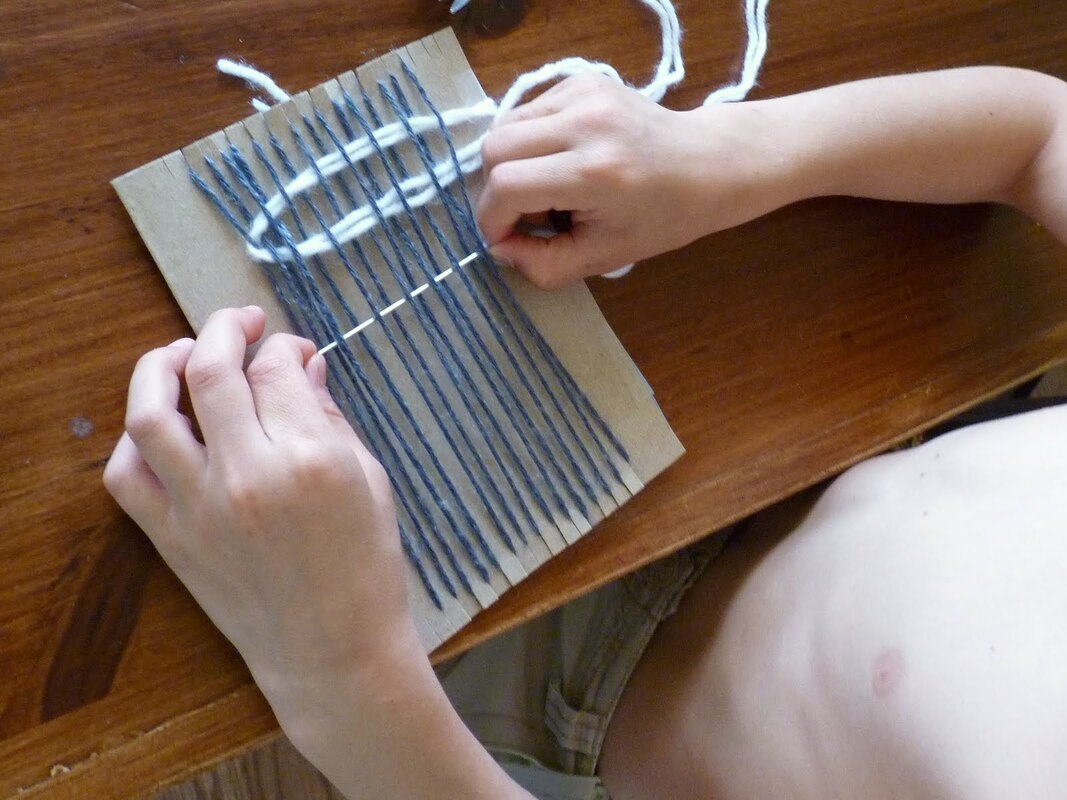
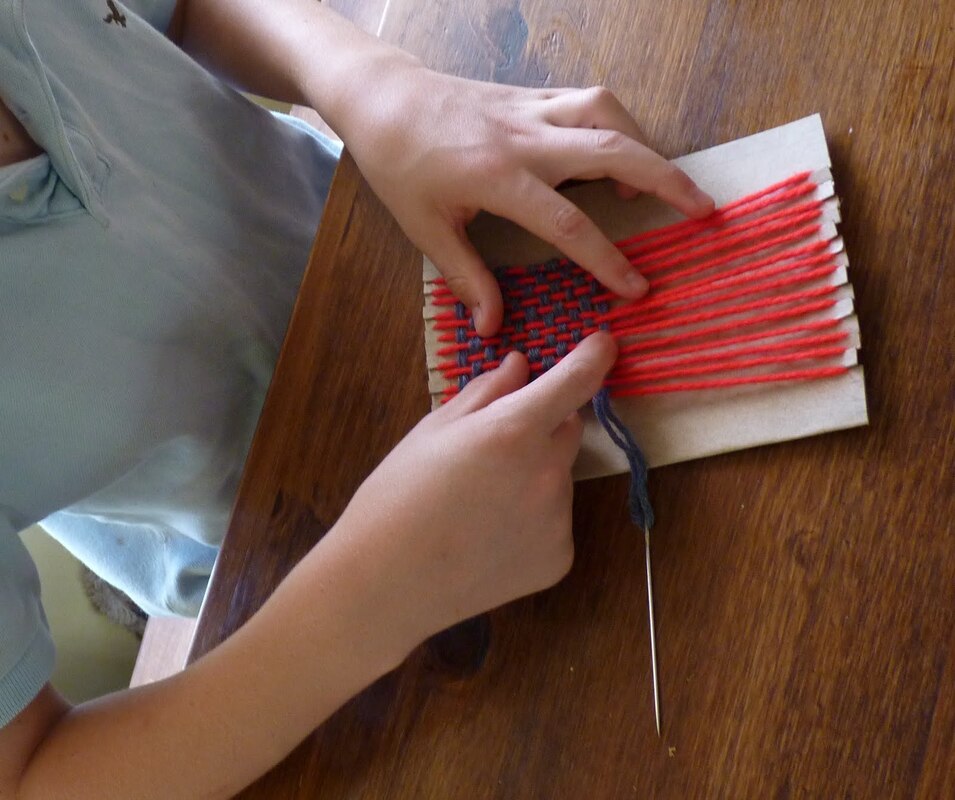
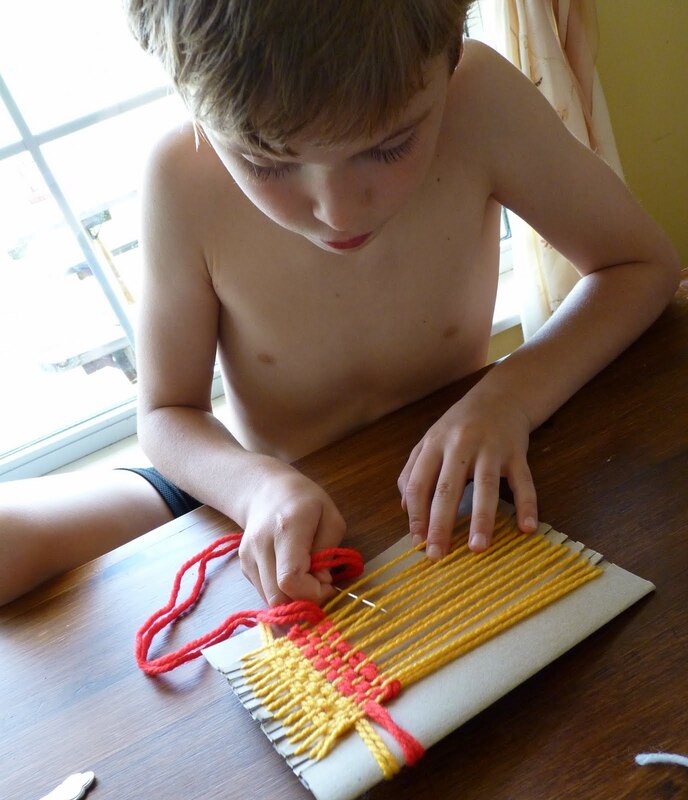
Now the fun begins! Have your child choose the first color of yarn for his weaving and thread it onto a large (blunt) tapestry needle. We used about 4 to 5 feet of yarn and had it doubled through the needle so each child had about 2 feet of yarn to work with at a time (A bit longer for bigger kids.) Leave a tale of yarn so it can be tied off later. We taped our tales to the back of the loom before beginning weaving so they wouldn't get in the way. Start weaving by going over and under every other Warp string. When you reach the end of the row, come back the other way going "over" where you went "under" and "under" where you went "over" before. The yarn that goes back and forth is called the Weft string, we like to double it because it helps the weaving go a bit faster the bulkier the yarn is!
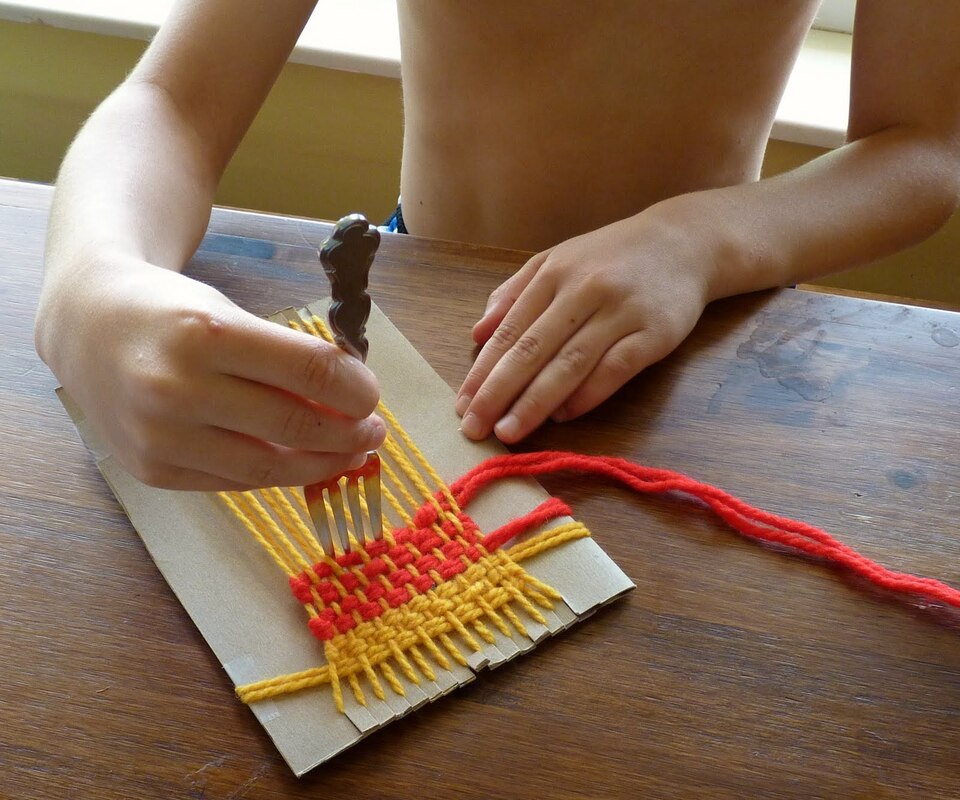
After you have 4 or five rows completed you will need to push all of your Weft strings to the top (or bottom) of your weaving. A fork comes in handy for this.
Or you can use your fingers to tighten the weft strings!
It's easy to make stripes and change colors while you are weaving. Simply cut your weft yarn off the needle, leaving a tail and tape it onto the back of your loom. Then string another length of different colored yarn onto your needle and tape the tail onto the back side of the loom and start weaving where you left off with the last color, always being careful to follow the over, under, over, under pattern!
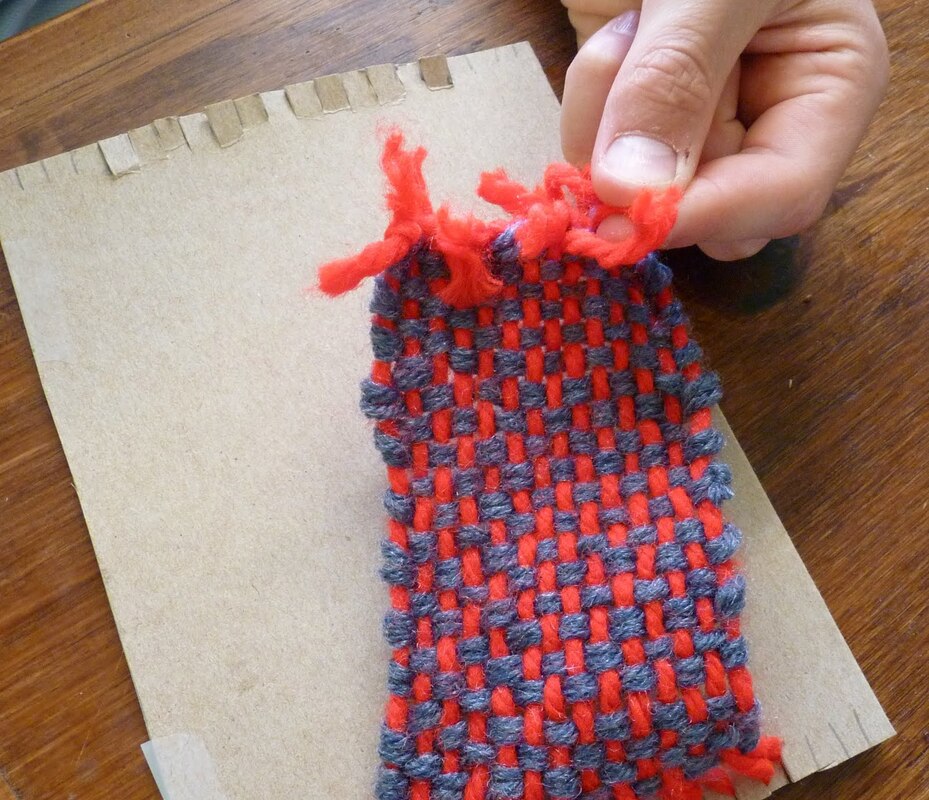
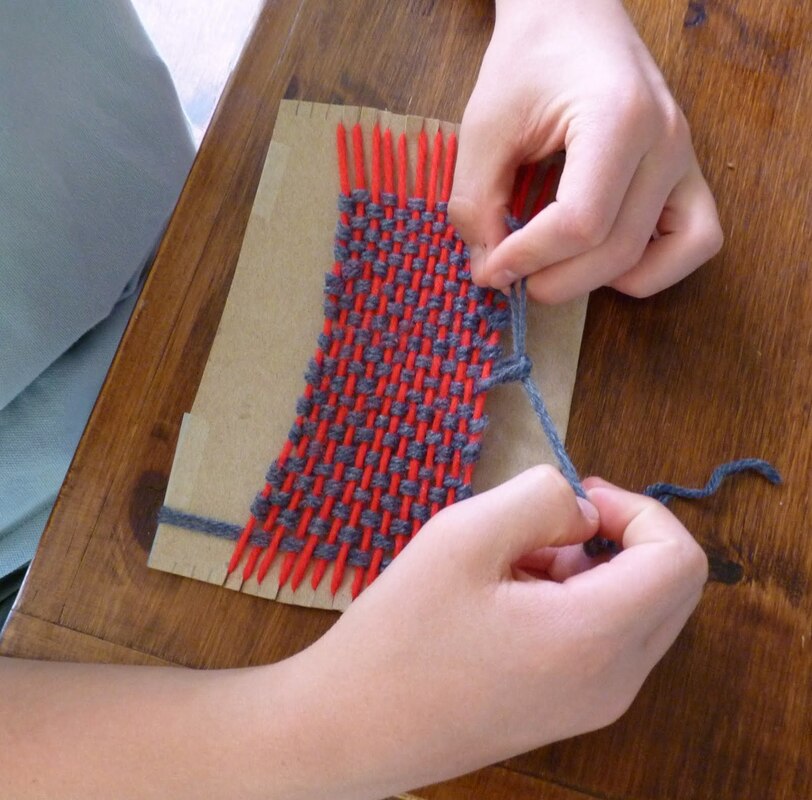
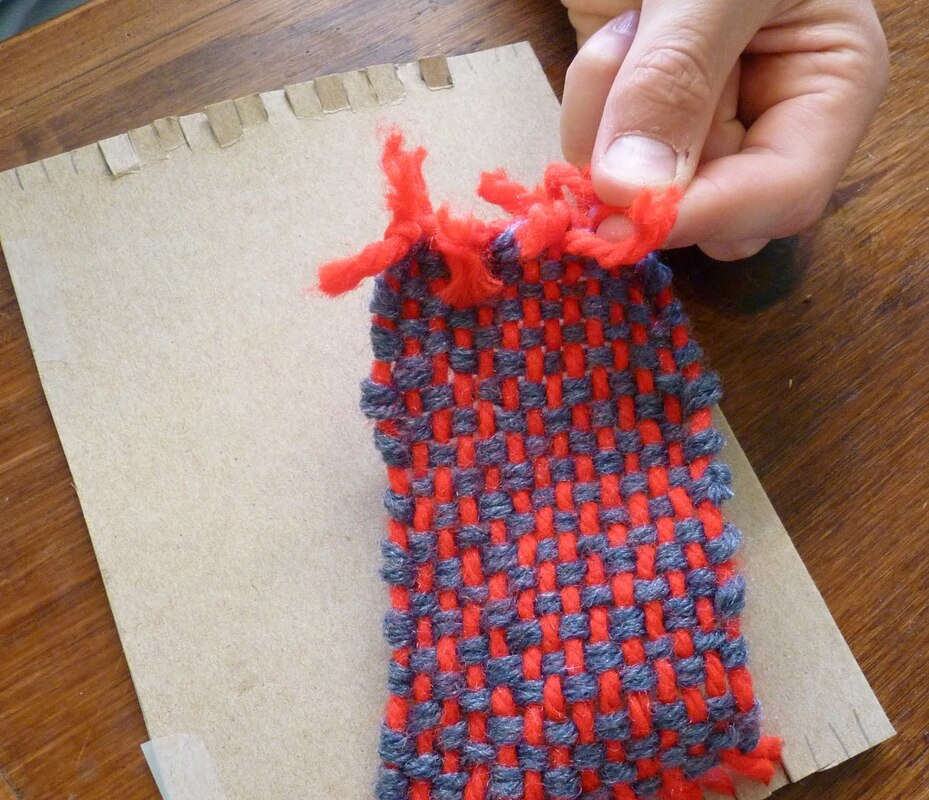
When your weaving is complete it is time to tie up all of the loose ends. Younger children may need help tying everything off. Start on the sides tying the weft string tails into nice square knots close to the edge of the weaving. You can cut the tails pretty close if your knot is secure.
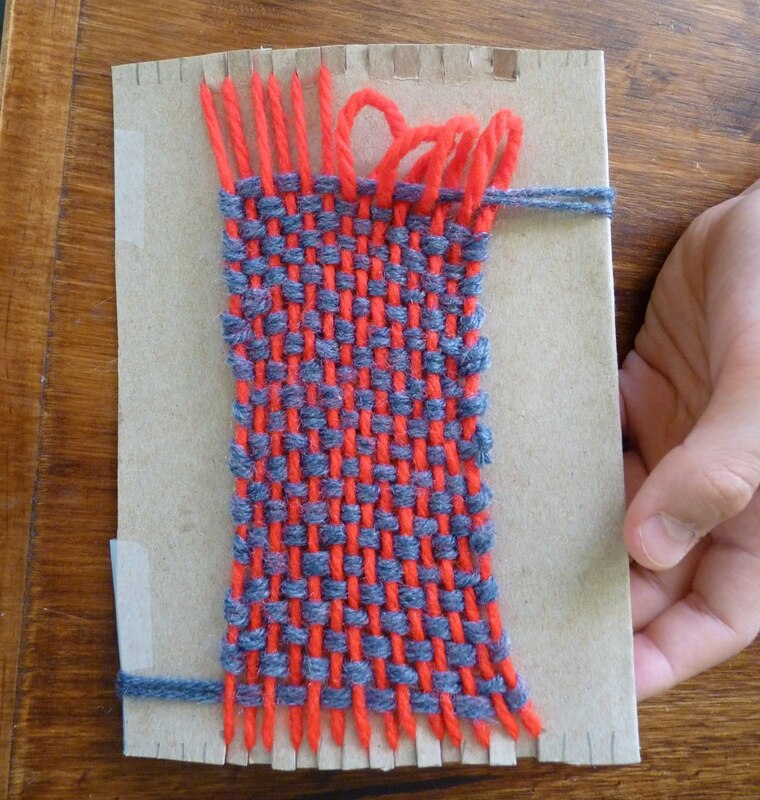
Next slip the loops off of the tabs of your loom. We found it easiest to snip each loop one at a time and knot it, rather than cutting them all at once and then trying to figure out which ends went together!
The ends can be left like this as a fringe or they can be trimmed to make a neater edge.
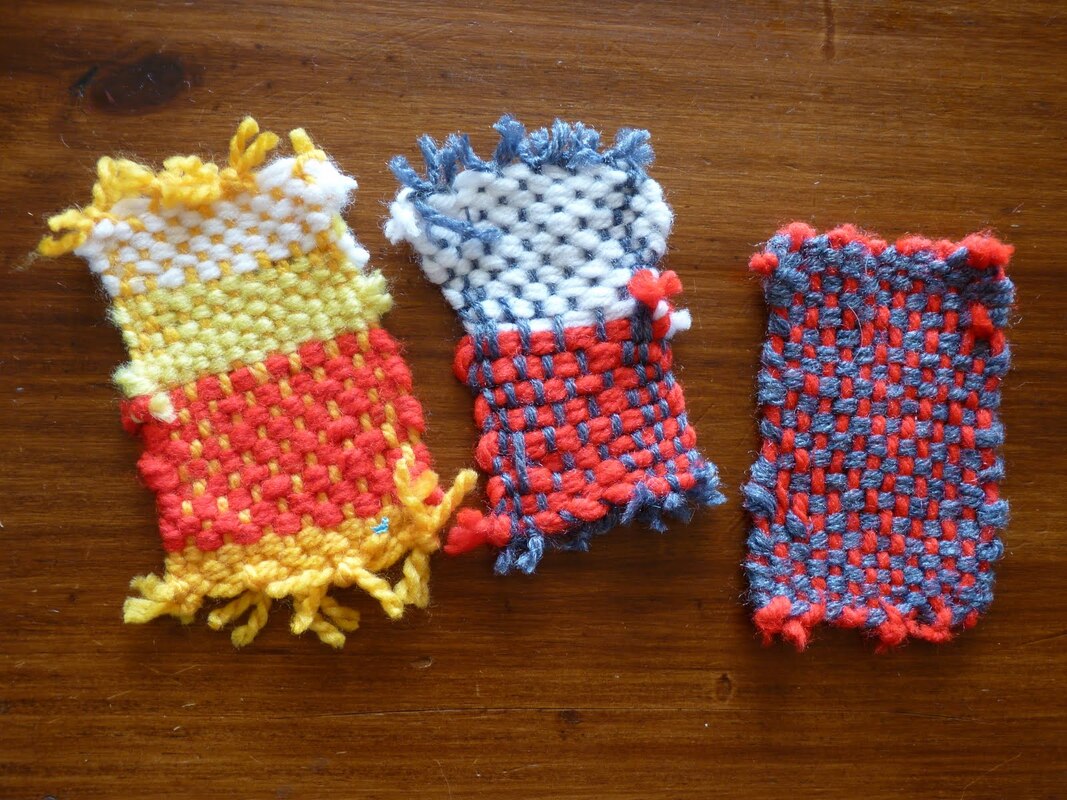
My kids' finished projects. They couldn't wait for their daddy to get home to show him what they had made!
Thanks for letting me join in the Summer Soiree fun! Please stop by my blog At The Butterfly Ball, I'd love to have you visit anytime! We are always crafting up fun stuff for kids to do indoors and out over there!
0 Comments
Leave a Reply. |
�
Come on in...I'm Aimee, former Early Childhood Educator and Reading Specialist turned author, speaker, blogger, and mom of 5. This website is meant to inspire & equip parents of little ones to promote early literacy & language development at home. You will also find fun crafts, devotionals, and recipes to explore..
Learn more about me here. Categories
All
|
*Photos are reflective of a handmade or hand stamped design; including naturally occurring materials. It is not intended to represent the exact product you will receive. Variation in shape, color, size should be expected. Each pearl & stone is unique; each piece is unique.

 RSS Feed