Hello, HomeSpun Threads Readers! I am so thrilled to be with you today sharing a bit of summer fun. I am Tammy and I blog at She Wears Flowers. I am a mom to sweet twin 10-year-old girls and a sassy three-year-old girl, too. It's all about girls in our home, with the occasional concession for the one boy--my great husband. I like to share my projects on my blog and they aren't even all girl projects!
We have a lot of fun during the summer spending long days together, but the all-time favorite activity is anything that involves W-A-T-E-R!
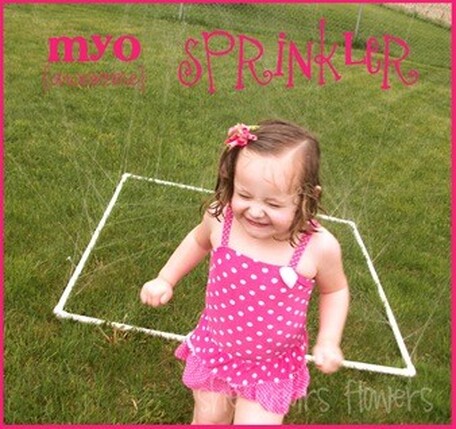
MYO {awesome} Sprinkler Materials 2 10 foot pieces of 1/2 inch PVC pipe 1 PVC t-joint 1 PVC hose to pipe connector 4 PVC elbow joints PVC cement PVC pipe cutting tool (optional, but super nice!) drill with 1/16 inch drill bit
Instructions
Cut 10 foot pipes into 4 four feet pieces. You will not need the excess amount, but be sure to save it in case you need to make repairs later. (I don’t think it is a given, but why waste anything you may need?) The PVC pipe cutting tool is about $10 and well worth it. If you prefer, you can use a hack saw to cut PVC. Drill random holes along the length of each 4 foot pipe. Try to keep the holes towards the upper third of the pipe, but you can slant them any direction. Cut one 4 foot section of pipe in half. The hose connector and t-joint will be used here. Use PVC cement to glue the t-joint, the hose connector and the pipe pieces together. Glue the remaining pieces together using the elbow joints to connect each side and make a square. Let PVC cement dry completely (it’s quick) and screw hose into hose connector piece. Turn the water on low… or, turn the water on high… then jump… and run and have a ball in your new sprinkler! When you are ready to put it away, just unscrew the hose, tip the sprinkler up and drain out the water. It easily stores away until the next time you want it. There are so many great features—it's inexpensive, easy to make, flexible, durable, easily repaired and, best of all, SO FUN! This is very durable, but if you do break a section, you can easily repair it with another t-joint and a small piece of PVC pipe. Remember, don’t throw away your excess when you first make it—save it for sprinkler emergencies. My girls LOVE this new sprinkler and can’t wait to use it for the summer. They got to try it out once this year before it got cold and rainy again so we are crossing our fingers for summer weather. Thanks for letting me share a project here today, Aimee! I hope you will all stop by She Wears Flowers and see what I am up to!
2 Comments
danny pagtalunan
3/28/2017 08:59:17 pm
Kimberly
6/5/2017 11:03:09 am
Thank you! I think this will be perfect. Leave a Reply. |
�
Come on in...
I'm Aimee, former Early Childhood Educator and Reading Specialist turned author, speaker, blogger, and mom of 5. This website is meant to inspire & equip parents of little ones to promote early literacy & language development at home. You will also find fun crafts, devotionals, and recipes to explore..
Learn more about me here. Categories
All
|
 RSS Feed