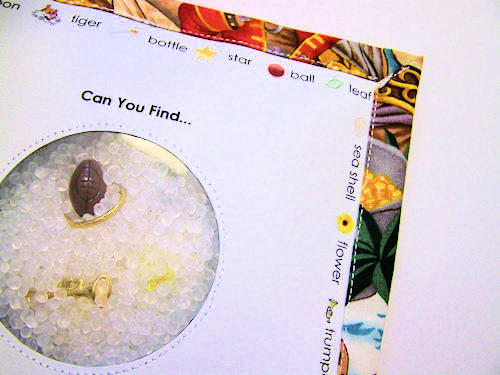
 Last December I posted that I had So Much To Do and So Little Time and I'm not kidding but that hasn't changed. Christmas is nearing and I have way to much to do in the way of making gifts and I spent some mullah today buying trinkets and plastic charms and all kinds of tiny goodies and found a new store that I LOOOOOVEE! It's called...Tiny Things Are Cute. I'm seriously in love and I feel an addiction coming on. So, I'm getting prepared to make about 20 of these little suckers. 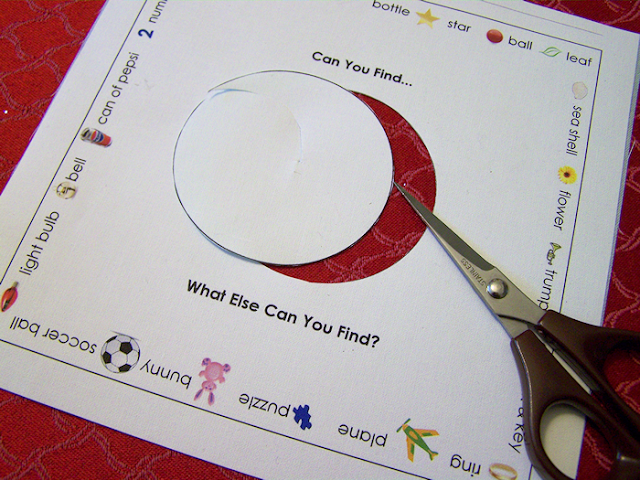 Materials Need: 8 oz of Poly-pellets or white rice 4" x 4" Heave clear vinyl 1 Fat Quarter for back and binding 1 Sheet of Printable Fabric (optional) or 1 Coordinating Fat Quarter 20 or so small trinkets 1 sheet of felt in a solid color Let's Get Started: 1. To make your own front that is printed on fabric you will need to use a photo shop program. Create a 7" x 7" graphic to work with. Start by giving your graphic a border 1" inside by making a 6" x 6" border. Just inside the border you can simple add text or you can add text and graphics. I found many of the little pictures to match the items going into my bag by Googling for the images. I space the images and text out all the way around, just inside the border. Add a 3" circle to the center and print on your fabric. 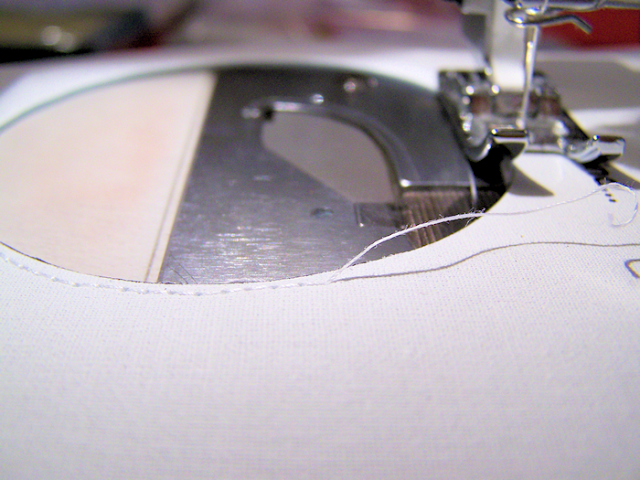 If you can't find printable fabric you can try this technique... To print anything you want to on fabric, cut white muslin and freezer paper 8 1/2" X 11". Iron shiny side of freezer paper to back of fabric. Send paper and fabric through an ink jet printer. Press printing when finished to help set ink. 2. Cut the center circle out very neatly as shown. 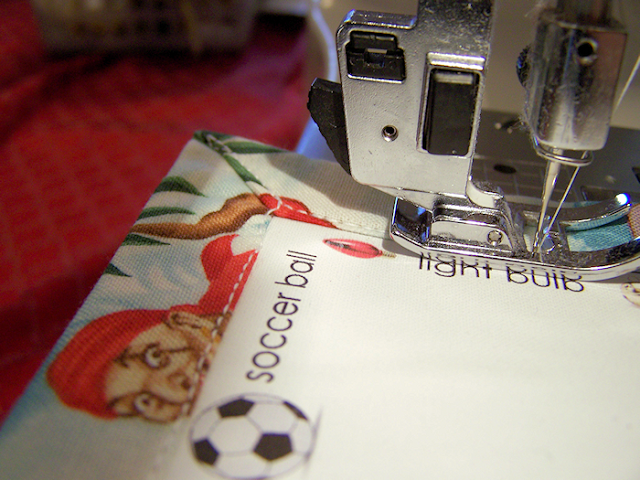 3. Place clear vinyl under printed fabric, centered with window. Sew close to the edge to secure vinyl to fabric. Turn over and trim vinyl 1/4" away from the stitch line. 4. Cut a piece of felt 7" by 7", this will be a solid back ground for your bag. Cut for back and binding 11" x 11". Lay felt centered on the wrong side of the fabric. 5. Fold edges 1" in all the way around so that they lay against the felt edge. This will leave a 1" fold to work with. 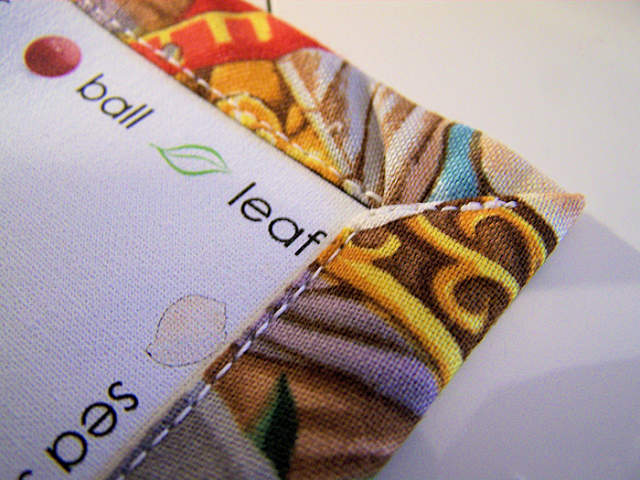 6. Lay printed fabric face up centered with felt, fold back fabric over 1" and line up with the 1" border on your printed fabric. Begin sewing fabric down near the center of one side. 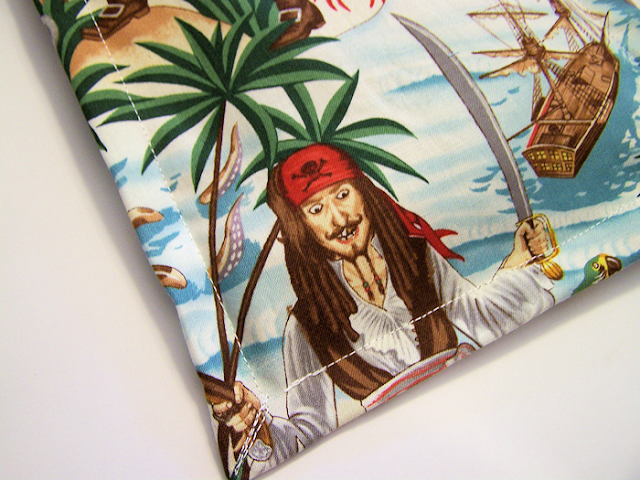 7. As you come to a corner tuck in the corner to create a 45 degree angle and stitch down as you go around, just back over it and then forward again. 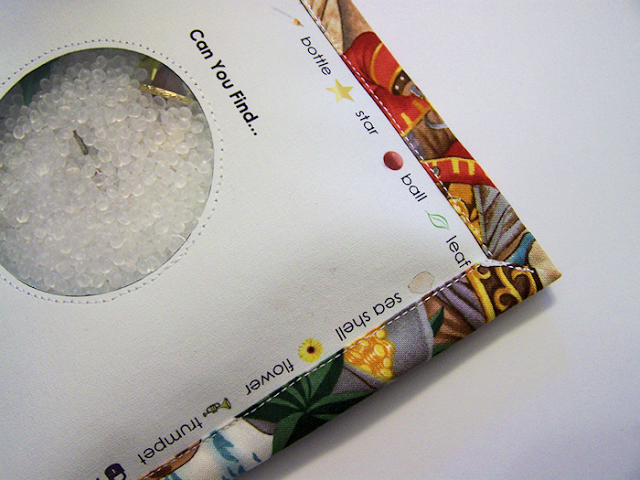 8. This is how your back will look. When you are about 2" from finishing your binding, stop open up the hole an funnel in your pellets between the felt and the printed fabric. Then add your trinkets and finish sewing up your binding. If you don't want to print your fabric and just make a list you can add a small pocket on the back fabric before sewing to insert a card but I suggest adding a printed card and applying vinyl over the top of it so that it will never get lost. Then just make a square window with the vinyl on the fabric for the front of the bag. There are many versions out there of this bag but this is my favorite way of making them. I now have purchased trinkets in bulk and pellets from Hobby Lobby. They can be found in the section where supplies are kept for making dolls and stuffed animals, I've even used pellets out of knock off beanie babies from thrift stores but I think it's just as cheap to by the pellets. Good luck! 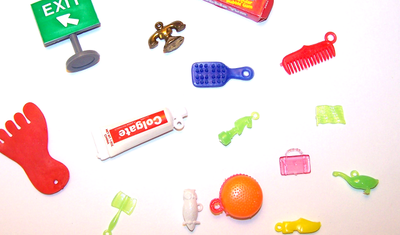 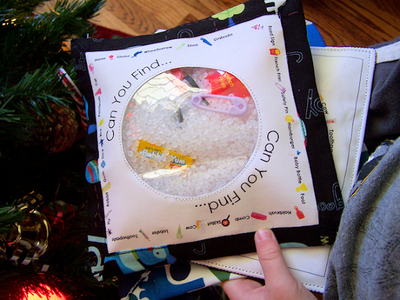 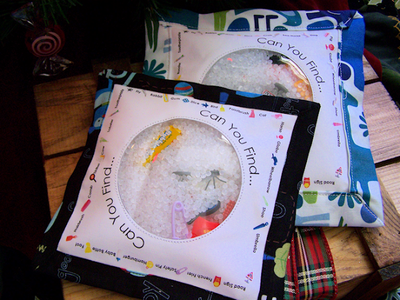
0 Comments
Leave a Reply. |
�
Come on in...
I'm Aimee, former Early Childhood Educator and Reading Specialist turned author, speaker, blogger, and mom of 5. This website is meant to inspire & equip parents of little ones to promote early literacy & language development at home. You will also find fun crafts, devotionals, and recipes to explore..
Learn more about me here. Categories
All
|
 RSS Feed